

Docs / Get started
Getting started
From a new account to a first run on your own computer, in four steps and about fifteen minutes.
Four steps take you from a new account to a simulation running on your own computer. You need a GitHub account and a computer with Windows, Linux or macOS; a GPU helps but is not needed for the first run.
1. Create your account
EsaSim is open by invitation for now. On the sign-up page, request access: say who you are and what you would like to build. When your request is approved you get an email with a link (valid 14 days) to create your account with your name and a password. You land on the dashboard of your personal workspace.
Invited to an organization by a colleague? Open the link in that invitation instead: it lets you create your account directly.
No email after a few minutes? Check your spam folder. An invitation link works once, for the address it was sent to.
2. Link GitHub
Your projects are saved as repositories in your own GitHub, so every change is a commit you can compare and undo. Open Profile > GitHub and choose Link GitHub (or paste a personal access token), then keep the default: a private repository for each project.
You can open the demos without GitHub; you need it to make or copy a project. More about linking GitHub.
3. Add your computer
- Open Computing > Local computing and choose Add a worker.
- On that computer, paste what the page shows, with its Copy button. On Windows it is one line, in an administrator PowerShell: it installs everything the worker needs (nothing has to be on the computer first) and pairs it with a code valid for 30 minutes. On Linux and macOS, a terminal and the lines the page shows, one after the other.
- The page moves on by itself when the worker connects. On the worker's page, check that Run code from projects is on.
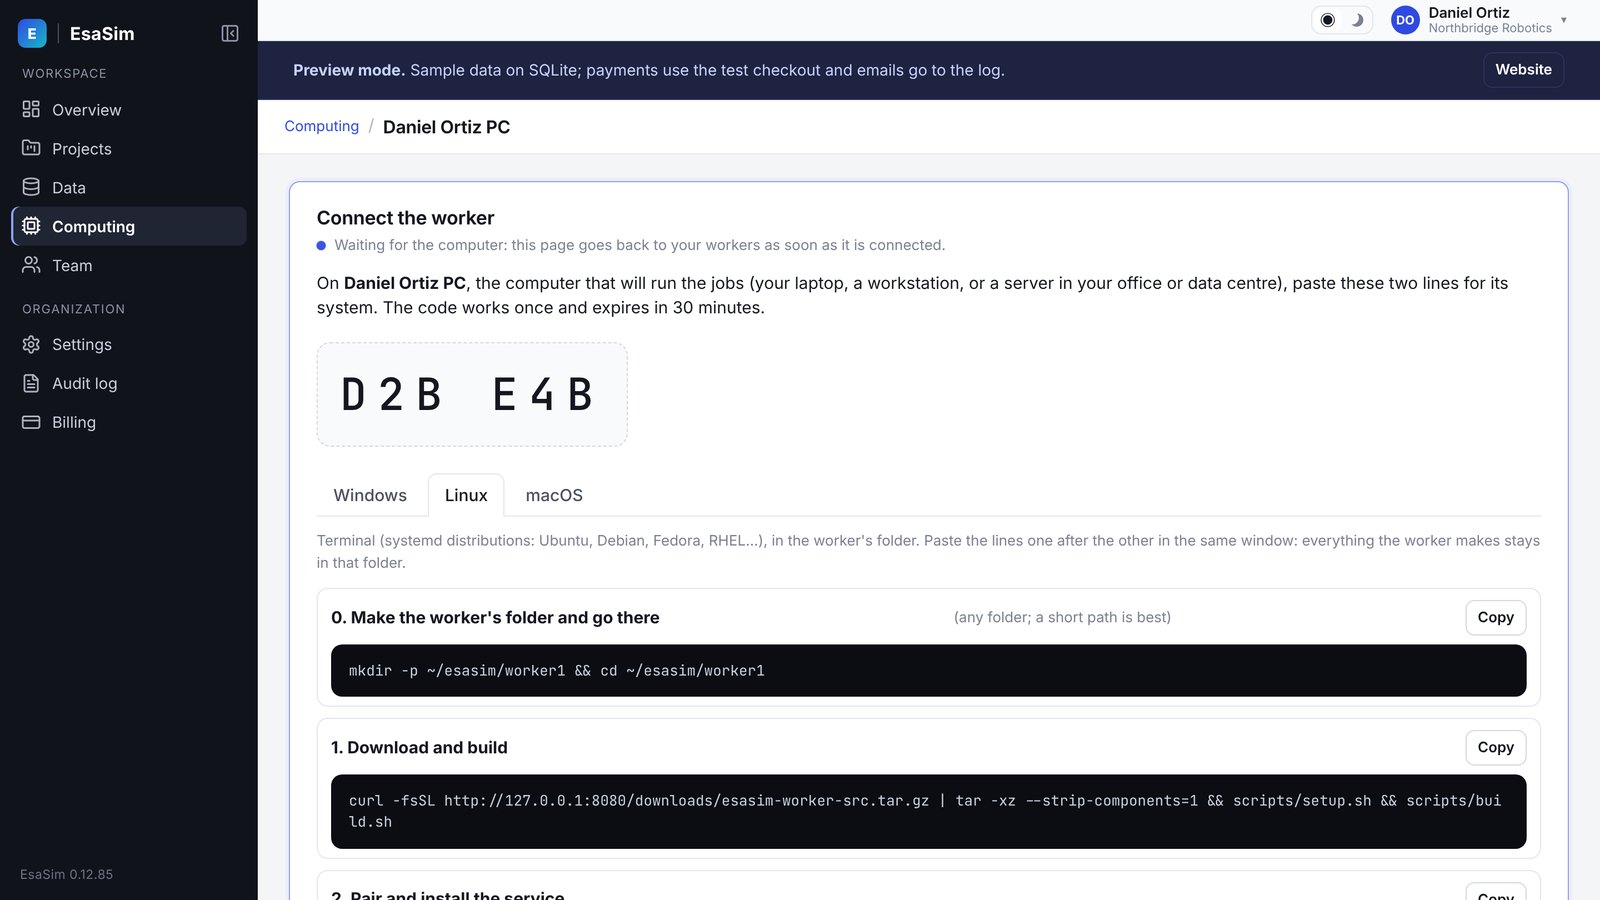
On Windows the worker brings its own Python; on Linux and macOS it needs Python 3.8 or later. Step by step, with every option: Set up a worker.
4. Run your first project
- Open Projects > New project, name it and choose the template Drone landing study.
- Open its Blueprint tab and press Run. Leave the placement on Automatic and start.
- Switch to the View page: the chart of success rate by wind, the metrics and the 3D replay fill in while it runs.
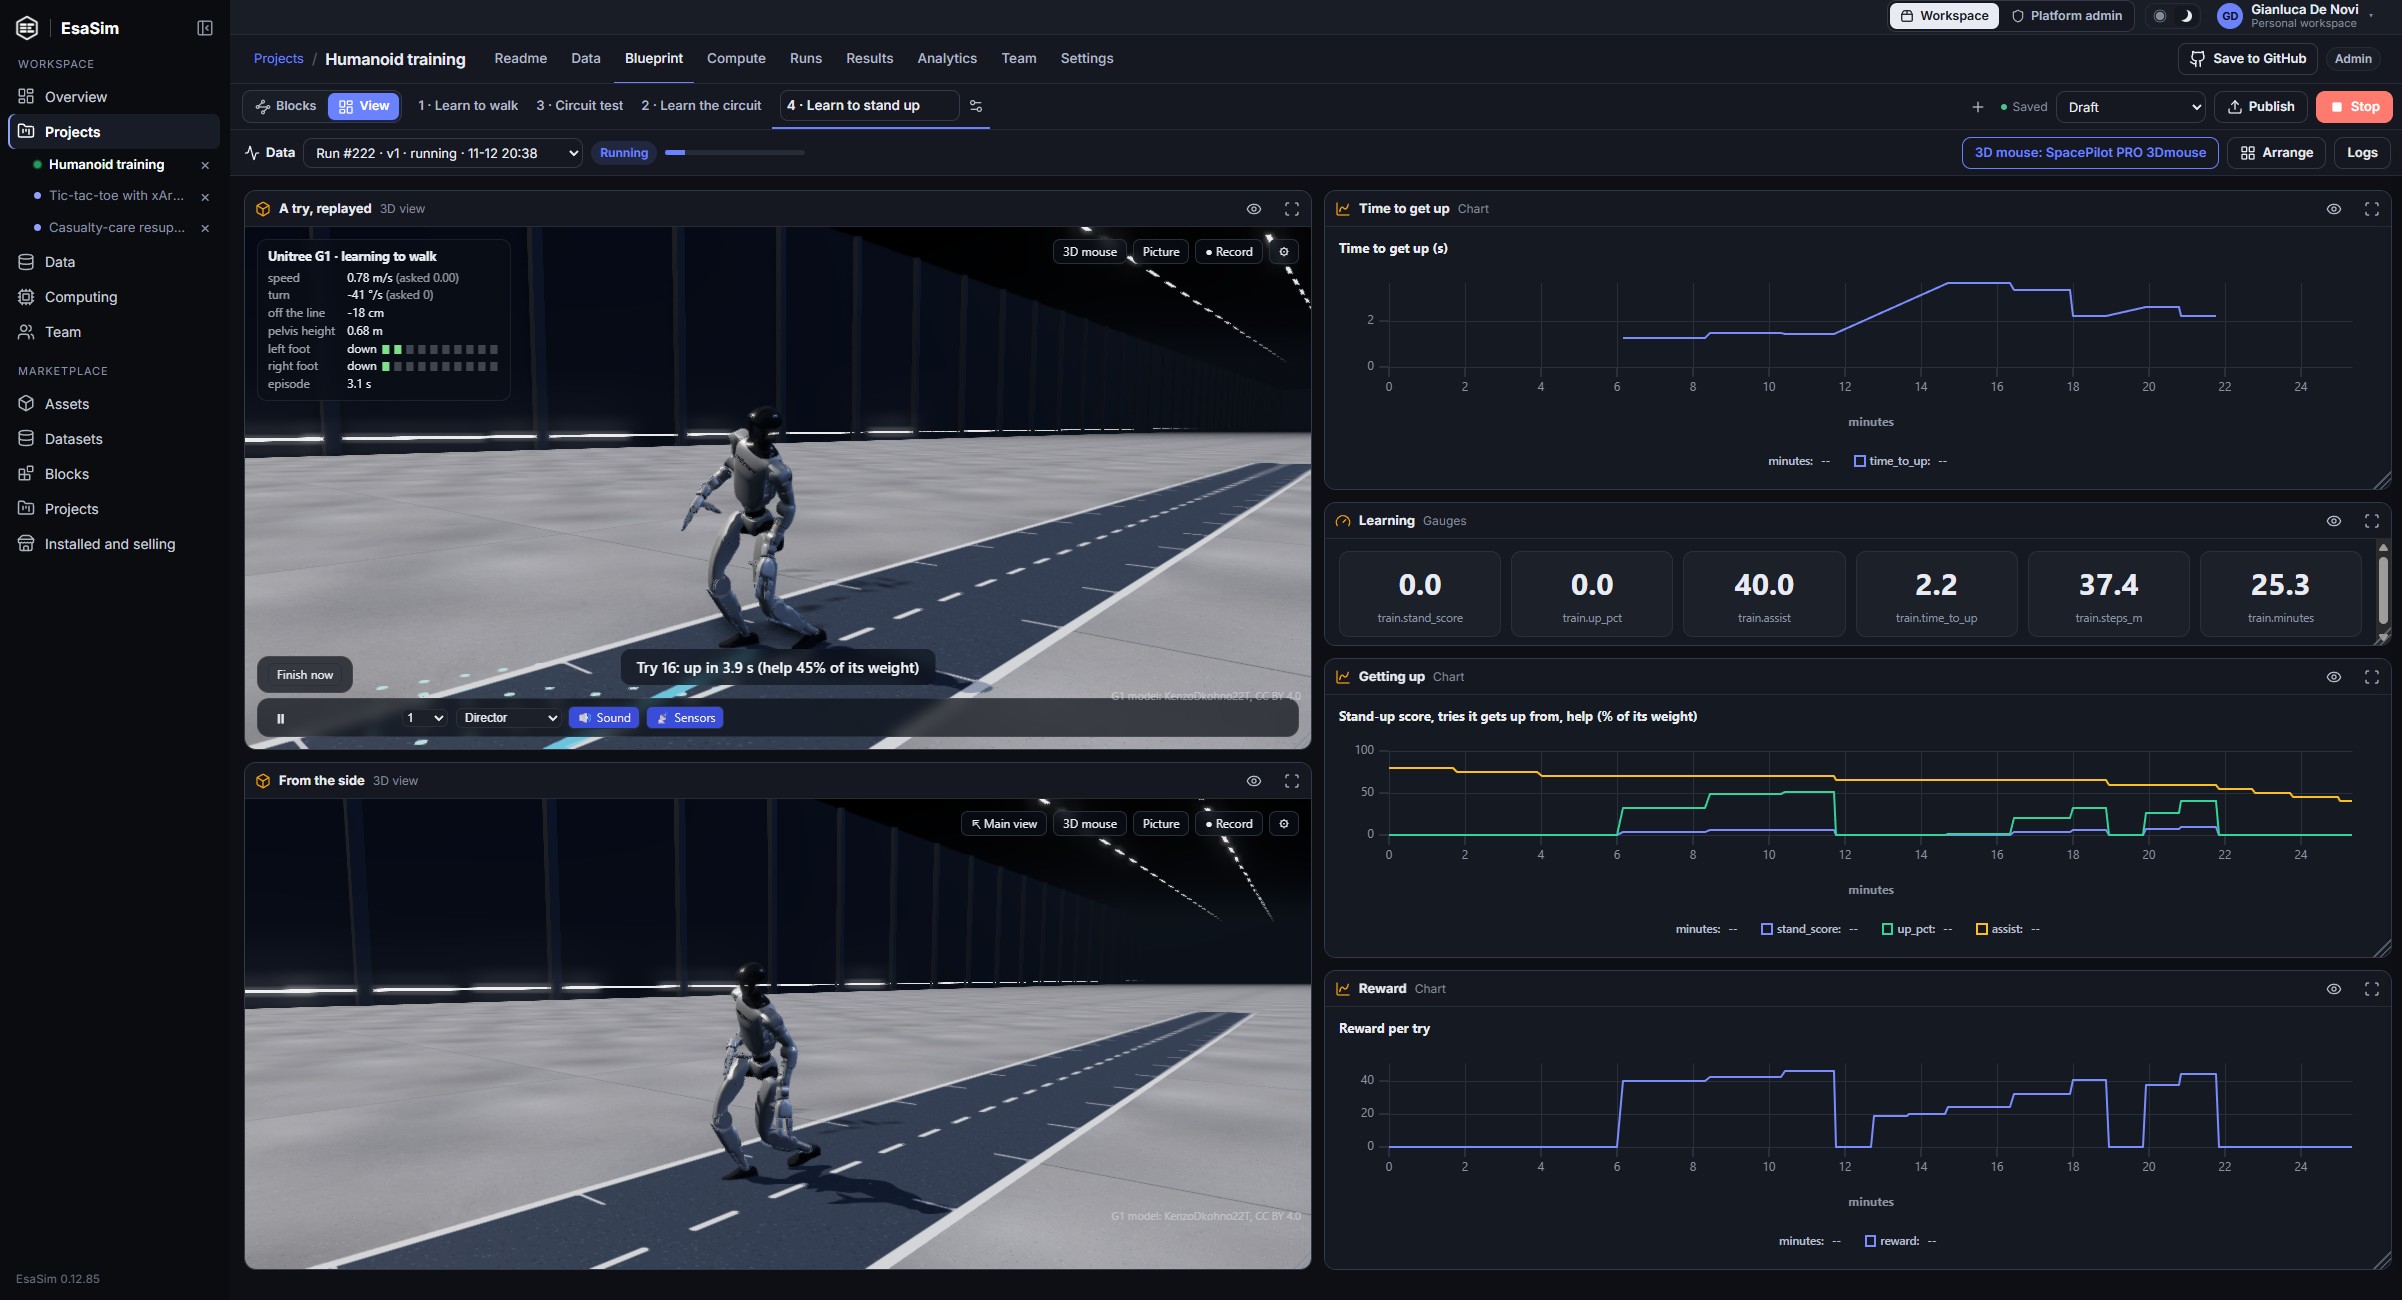
Or start from a finished example: Projects > Demos lists complete projects (text to image, data curation, CT to 3D anatomy and more) that you open and run as they are, on your own workers; Clone into my workspace copies one when you want to change it. See Demo projects.
Where to go next
| If you want to… | Read |
|---|---|
| Describe a study and let an AI assistant build and run it | Build a study with an AI assistant |
| Change the blueprint yourself in the editor | Blueprints |
| Write your own blocks and blueprints in code | A project in code |
| Use your own data | Data and datasets |
| Call a blueprint from your own app | From a blueprint to your app |
| Work with colleagues | Organizations and roles, Working together on GitHub |
To protect your account, turn on two-factor authentication under Account > Security. What each plan includes: Plans and billing.