

Docs / Teams and account
Organizations and roles
Create an organization for your company, lab or team, choose its plan, invite members, assign roles and teams, and set per-member limits.
An organization is a legal entity, such as your company, lab or team, with its own workspace, members and invoices. It is not tied to a plan: anyone can create one, on any plan, and it starts on Free. Choose Pro when one person works for it, or Enterprise for a team: every member gets Pro features, and owners and admins control who can do what, and on which resources. Any organization can buy cloud credits.
Create an organization
- Open your profile menu, or Billing, and choose Create an organization.
- Enter its name and, if you like, its legal entity, billing address and tax ID for invoices.
- It opens right away, on Free. On its Billing page choose Pro (one seat) or Enterprise (five seats included, add more as you grow), monthly or annual.
You become the owner of the organization. Your personal workspace stays as it is. Free and Pro include one seat: to invite colleagues, move the organization to Enterprise. See Plans and billing for seat changes and Pricing for prices.
Roles
Each member has exactly one role in an organization.
| Capability | Owner | Admin | Billing manager | Member | Viewer |
|---|---|---|---|---|---|
| View projects, jobs and results | Yes | Yes | Yes | Yes | Yes |
| Create projects and launch jobs | Yes | Yes | No | Yes, within permissions | No |
| Register workers and edit compute units | Yes | Yes | No | If permitted | No |
| Invite and remove members | Yes | Yes | No | No | No |
| Change roles, teams and permissions | Yes | Yes, except owner | No | No | No |
| Security settings | Yes | Yes | No | No | No |
| View audit log | Yes | Yes | No | No | No |
| Manage seats, billing interval and invoices | Yes | No | Yes | No | No |
| Cancel subscription | Yes | No | No | No | No |
| Transfer ownership or delete the organization | Yes | No | No | No | No |
An organization always has exactly one owner. Give the admin role to people who manage members and security day to day.
Invitations
- Go to Organization > Members and choose Invite.
- Enter one or more email addresses and choose a role.
- Optionally add the invitees to teams.
- Send. Each person receives an email with a link to join.
Invitations expire after 7 days. A pending invitation reserves a seat. You can resend or revoke pending invitations from the members list. If you have no free seats, add seats first.
A person who has no EsaSim account creates one from the invitation link. A person who already has an account joins with it.
Teams
Teams group members, for example by lab, robot platform or site. Use teams to filter usage and to apply permissions to several members at once. A member can belong to several teams. Create and edit teams under Organization > Teams.
Per-member permissions and limits
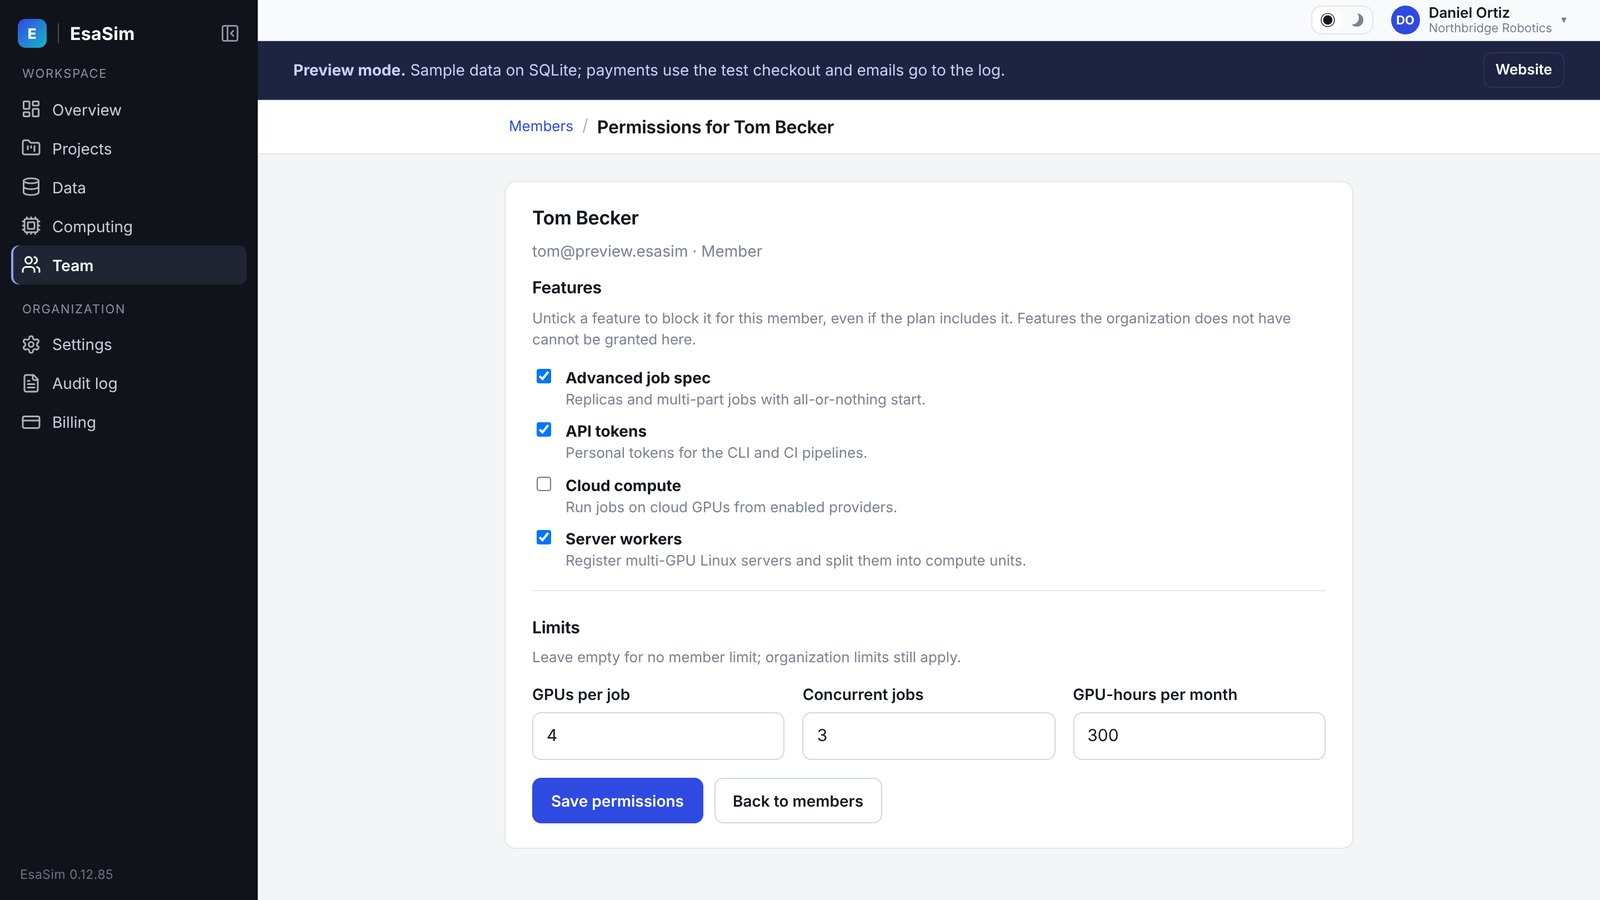
Owners and admins can restrict what each member can do, beyond their role:
- Feature permissions: for example, allow or deny server workers, replicas, API tokens or worker registration.
- GPU limits: the maximum number of GPUs the member can use per job.
Open a member under Organization > Members to change these settings. Changes are recorded in the audit log. The job launcher shows members only the options they are allowed to use.
Transferring ownership
- Make sure the new owner is a member of the organization.
- Go to Organization > Settings and choose Transfer ownership.
- Select the new owner and confirm with your password and, if enabled, a two-factor code.
The new owner gets the owner role. You become an admin. You can then change your own role or leave.
Leaving and removing members
Leaving
Any member except the owner can leave from Organization > Settings. The owner must transfer ownership first.
Removing
Owners and admins remove members from the members list. A removed member loses access immediately. Their jobs and results stay in the organization. Their seat becomes free. Removing a member does not reduce the number of paid seats. To pay for fewer seats, remove seats in billing.